Taking care of your Barbour jacket is crucial to make sure it lasts long and performs well. This guide will show you how to re wax a Barbour jacket and reapply wax to keep it waterproof and ready, for any storm. Just follow these steps to maintain your jacket, in shape.
Key Takeaways
- Regular maintenance is essential: Aim to re-wax your Barbour jacket at least once a year to ensure its longevity and waterproof capabilities.
- Use cold water when cleaning: Warm or hot water can melt the wax coating, so always stick to cold water to preserve the jacket's protective layer.
- Attention to detail matters: Pay special attention to seams and creases during the waxing process, as these areas are more prone to water penetration.
- Choose a suitable workspace: A warm, well-lit area (like your kitchen) is ideal for applying wax, while also protecting your surfaces from wax stains.
- Opt for the right drying method: Use a hair dryer for a smooth finish or hang the jacket in a warm room overnight for a classic look.
- Avoid common mistakes: Never use soaps or detergents, and do not rush the drying process to ensure the best results.
Re waxing a Barbour jacket is an essential part of maintaining its functionality and appearance. Over time, the wax coating can wear off due to exposure to the elements, making it crucial to refresh this protective layer. By following a few simple steps, you can ensure your jacket remains waterproof and retains its classic look. This process not only extends the life of your jacket but also enhances its performance in wet conditions.
Step 1: Cleaning Your Jacket

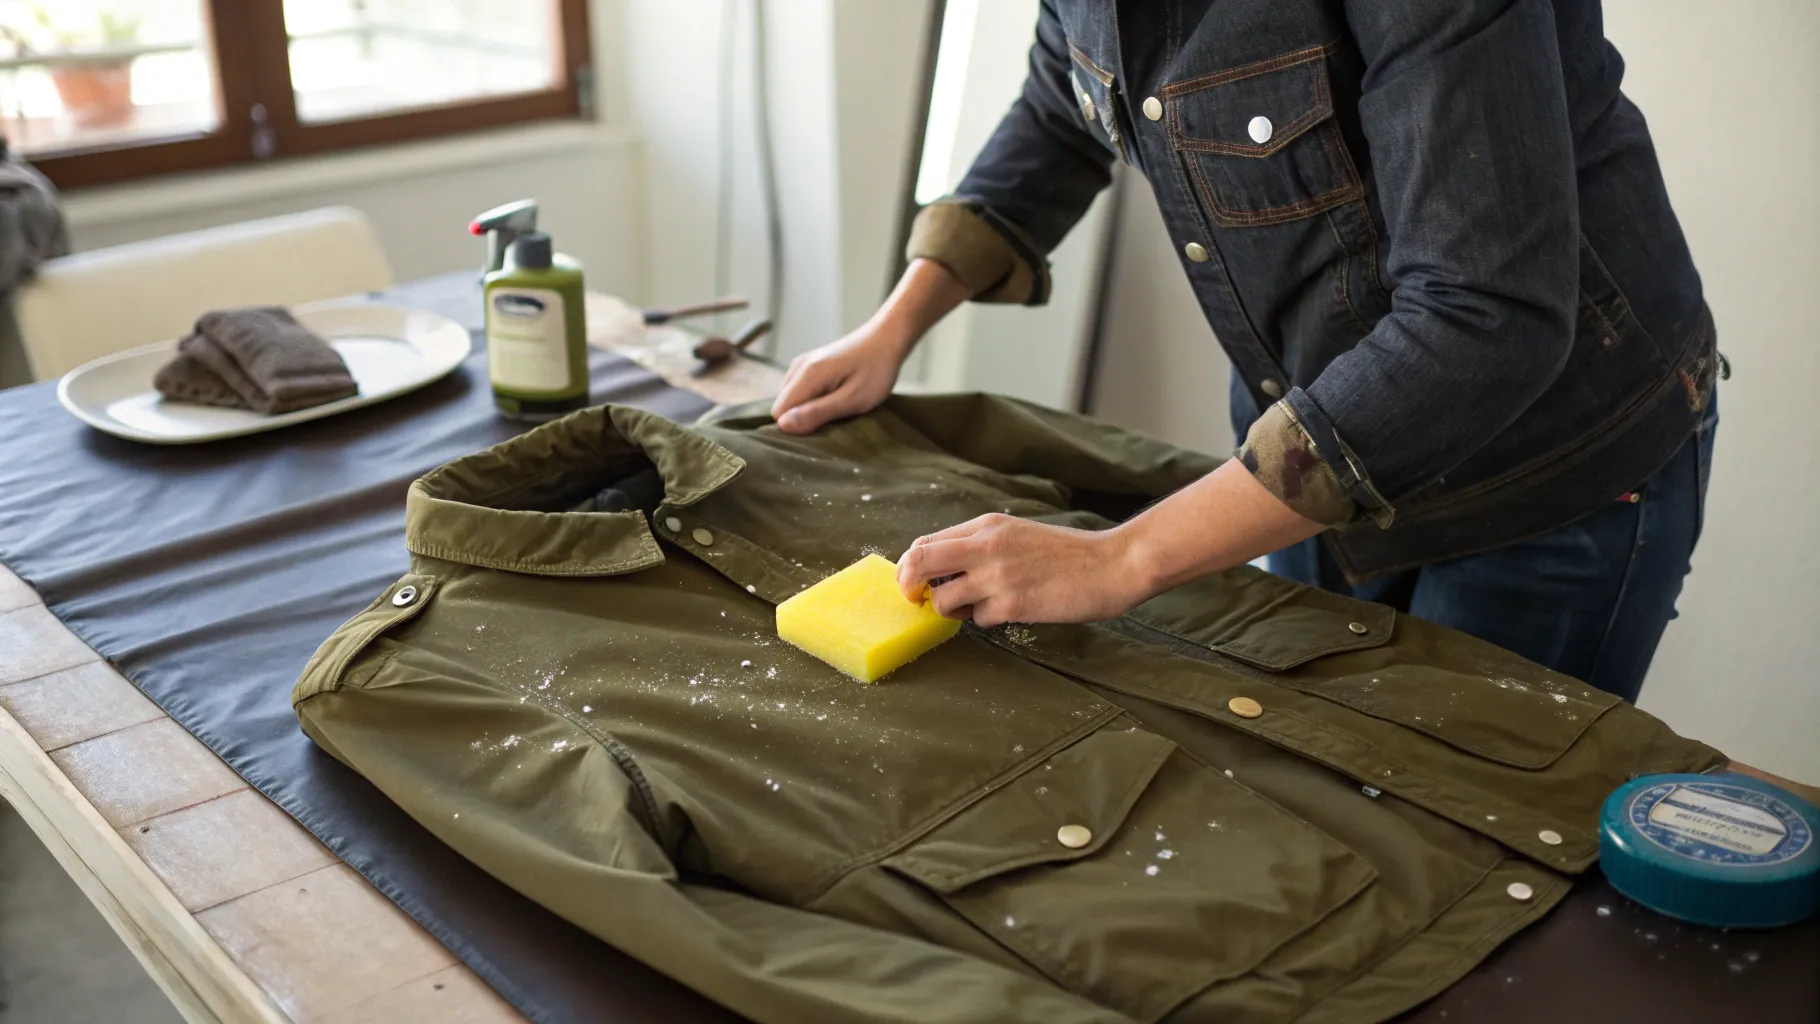
The initial stage, in reapplying wax to your Barbour jacket involves giving it a cleaning to ready the fabric, for the wax coatings application process using a sponge and cold water to delicately scrub the entire surface.
- Dip the sponge in cold water.
- Scrub away any dirt or grime.
- Ensure you cover the entire jacket for an even clean.
Make sure to avoid using water or any cleaning products, like soap or detergrnts because they could harm the wax and the material of the jacket itself.Make sure your jacket is clean before you start re waxing it; it's crucial for the process to be effective and successful.
Why Cold Water is Essential
When cleaning a waxed Barbour jacket it's important to use water of warm or hot water as the latter can melt the wax and remove the protective coating of the jacket. Starting with water helps maintain the integrity of the wax layer which's essential, for successful reproofing purposes.
Make sure the jacket is prepped to absorb the wax so it keeps its waterproofing intact by using water as a priority to prevent any harm.
Preparing the Wax
After ensuring that your jacket is clean and completely dry the following task involves getting the wax ready. You will usually find the wax stored in a jar, which needs to be melted by immersinng the jar, in boiling water. This gentle heat method effectively softens the wax while maintaining its quality.
- Fill a bowl with boiling water.
- Submerge the wax jar in the water.
- Allow it to sit for about twenty minutes until fully melted.
Make sure you have the wax prepared so that applying it during the waxing process goes smoothly.
Step 2: Re Wax Your Jacket

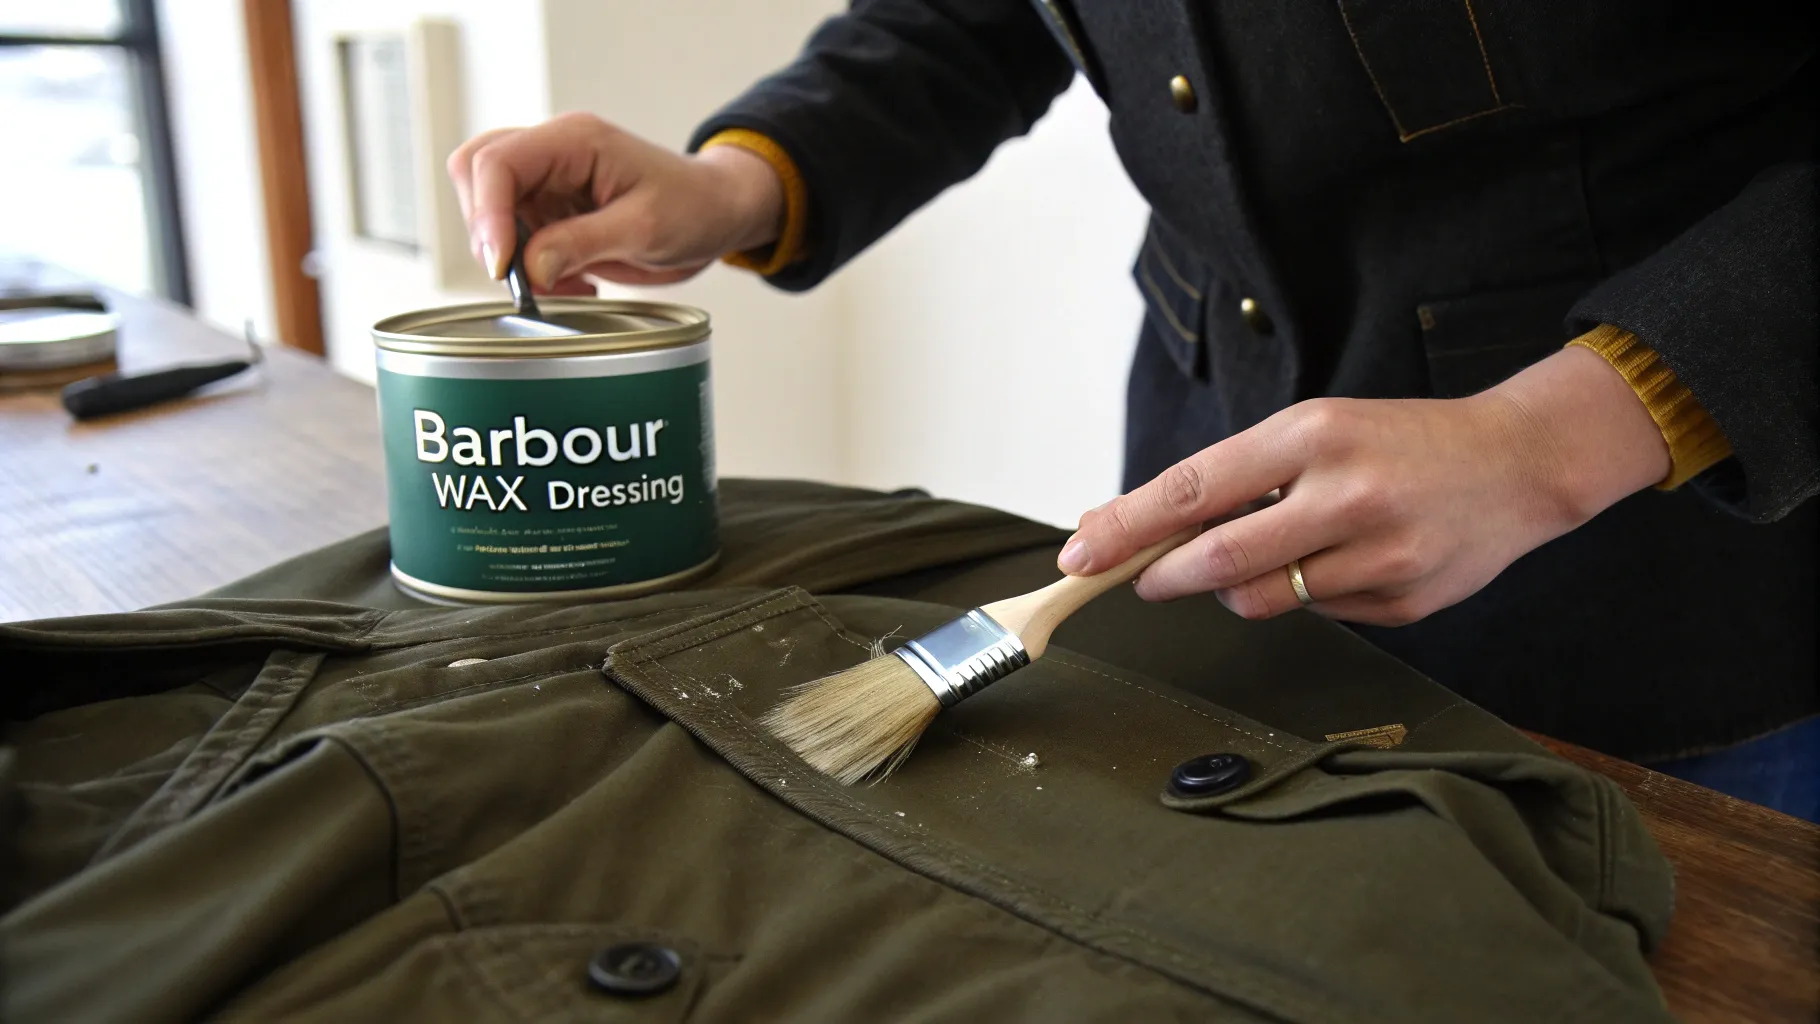
For this, we'll be using Barbours own Thornproof Wax Dressing available at Anna Davies in small and large sizes. Now that your jacket is clean and the wax has melted nicely on the fabric surface it's time to begin the waxing process. Lay the jacket flat, with the back side facing. Grab two sponge applicators—one, for spreading the wax another for wiping away any leftover residue.
- Dip the first sponge into the melted wax.
- Apply the wax in even strokes across the fabric.
- Pay special attention to seams and creases.
These regions are important as they are susceptible, to water seepage.Make sure to shield all sections of the coat to provide protection.
Attention to Detail: Seams and Creases
When reapplying wax to your gear or clothing items that need waterproof treatment maintenance care is crucial, for ensuring lasting protection against moisture intrusion and potential damage. By paying attention to the seams and creases which're typically spots for leaks make sure to generously apply the wax and allow it to penetrate these areas thoroughly creating a strong barrier, against water penetration.
Make sure to use the sponge to wipe off any wax left over from applying it to prevent a sticky buildup that might collect dust and dirt.
- Inspect all seams for thorough coverage.
- Be vigilant in areas that are frequently flexed or stressed.
- Ensure that the zip area is also well-waxed.
Focusing on these details will improve the jackets performance. Make it last longer.
Working in a Suitable Environment
Establishing the setting, for reapplying wax to your Barbour jacket is key, for achieving results. A suitable area will facilitate an application process. Enhance the overall outcome.Select an well lit space where you can easily spread out your jacket and work comfortably.
The kitchen is a spot because of its surfaces and cozy ambiance so make sure to put a protective layer on your counter to prevent any wax related harm as it tends to be greasy and could leave marks.
Key Considerations for Your Workspace
- Choose a warm room to help the wax apply smoothly.
- Cover your work surface with newspaper or a cloth.
- Ensure good ventilation, as the wax can have a strong smell.
Step 3: Drying Your Jacket

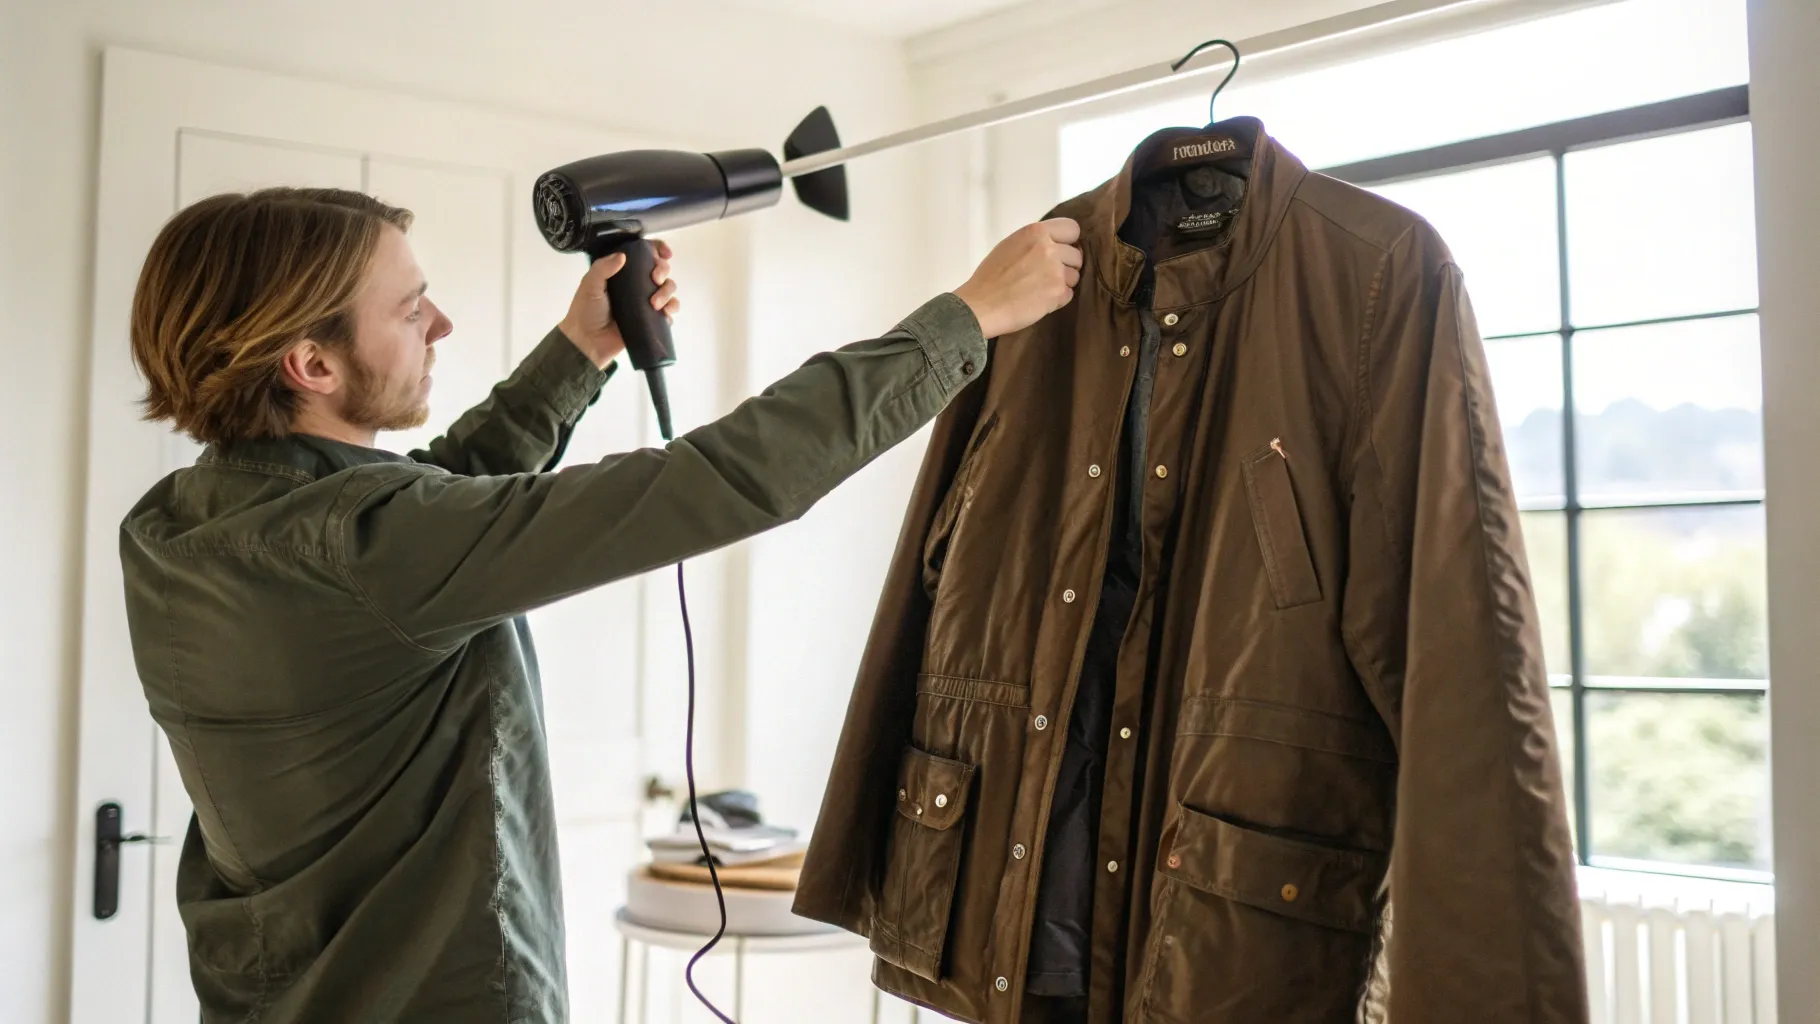
After you have put the wax onto your jackets surface and finished the application process properly; it is crucial to dry it to maintain its quality and effectiveness, in repelling water and staying durable over time.The drying process can be done effectively using one of two methods – either by using a hair dryer or by letting it hang overnight in a room, for natural air drying.
If you choose to use a hair dryer, for this task make sure to set it at a heat level and move it evenly over the jacket. This approach assists, in evening out the wax. Ensuring it sticks well to the material.
Alternative Drying Method
For those who like to stick to the way of doing things. Just hang your jacket in a spot overnight and let the wax settle naturally for a unique touch, to the finish! Both ways get the job done well; just go with what feels right for you!
Choosing the Right Finish
Selecting the type of finish for your jacket can greatly impact how it looks and feels. If you want an sleek appearance, for your jacket the hair dryer technique is advised.. If you prefer the classic waxy finish just let the jacket air dry naturally.
Choosing the type of finish for your jacket can impact its performance, in weather conditions; a smoother finish may improve water resistance and a waxy finish gives it a timeless look.
Step 4: Annual Re-Waxing Recommendations
To keep your Barbour jacket in shape and performing well over time; it's an idea to apply wax to it annually at the very least.Wearing it often and particularly, in weather might mean you'll need to wax it frequently than that.
When you're reapplying wax to your jacket be mindful that it may release some wax, at first as it blends with the layer already there. This is normal. However don't set your jacket by a radiator or, near heat as this could lead to marks where the wax seeps out.
Signs Your Jacket Needs Re-Waxing
- Visible wear and tear on the fabric.
- Water no longer beads on the surface.
- Areas of the jacket feel dry or rough to the touch.
Avoiding Common Mistakes
When it comes to reapplying wax to your Barbour jacket during the maintenance process there are errors that can impede your progress. Here are some helpful suggestions to steer clear of these challenges;
- Never use warm or hot water during cleaning.
- Avoid using soaps or detergents that can strip the wax.
- Don't rush the drying process; allow time for the wax to set properly.
By following these guidelines, you can ensure that your re wax process goes smoothly, resulting in a well-maintained jacket ready for the elements.


